3D Printing with Plastic Waste: Turning Trash into Treasure
piocreat3d
on
November 12, 2024

Plastic waste is a growing environmental concern, with tons of plastic piling up in landfills and polluting natural habitats every year. However, advances in 3D printing technology now offer a promising way to repurpose plastic waste into functional products, making strides toward a more sustainable future. By recycling plastic waste for 3D printing, we can create custom objects, furniture, and even architectural components, all while reducing the demand for new plastic production.
In this blog post, we’ll explore the feasibility of using recycled plastic in 3D printing, methods for recycling leftover plastic waste, and how this approach is being applied to fields like architecture and furniture design.
Can You 3D Print with Recycled Plastic?
Yes, recycled plastic is an excellent material for 3D printing, and it’s becoming a popular choice for those looking to reduce their environmental footprint. Using recycled plastics as feedstock in 3D printing is a great way to keep plastic waste out of landfills while creating durable, custom objects. Many companies now offer 3D printing services that use recycled plastics, and with the right equipment, hobbyists and small businesses can start repurposing plastic waste at home or in their workshops.
Advanced Fused Granulate Fabrication (FGF) technology has made 3D printing with recycled plastic even more accessible, allowing users to feed shredded plastic pellets or flakes directly into the printer’s hopper. This extrusion-based process is ideal for larger projects and makes it possible to print items from furniture to architectural models with minimal waste.
What Can You Do with Leftover Plastic from 3D Printing?
3D printing often generates some plastic waste, such as failed prints, support structures, and unused portions of filament or pellets. Instead of discarding these materials, you can recycle them back into usable 3D printing feedstock or repurpose them for other manufacturing processes.
Here are a few options for handling leftover plastic from 3D printing:
Recycle Plastic into New 3D Printing Material: Leftover plastic can be shredded, melted, and extruded into new pellets, which can be fed into an FGF 3D printer. This approach helps minimize waste and lowers production costs.
Repurpose Plastic for Injection Molding: Recycled plastic waste can also be used to produce small objects in injection molding processes, creating new items that don’t require the precision of 3D printing.
Create Household and Workshop Tools: Recycled plastic can be used to make functional tools and objects for personal or professional use, especially for items that require durability rather than intricate detail.
Recycling leftover 3D printing plastic is a practical way to make additive manufacturing more sustainable and prevent waste from ending up in landfills.
Is 3D Printing Plastic Biodegradable?
While many plastics used in 3D printing are not biodegradable, PLA (Polylactic Acid) is a notable exception. PLA is a popular, biodegradable plastic derived from renewable resources such as corn starch or sugarcane. Under controlled industrial composting conditions, PLA can break down, making it a more environmentally friendly choice for projects that do not require long-term durability.
However, PLA’s biodegradability is limited to specific conditions; it does not decompose naturally in regular soil or marine environments. For those looking to make sustainable choices in 3D printing, using recycled materials alongside biodegradable plastics like PLA is an excellent strategy for reducing environmental impact.
How to Make 3D Printing Material from Plastic Waste
Creating 3D printing materials from plastic waste is part of a movement called Distributed Recycling and Additive Manufacturing (DRAM), which repurposes local waste plastic for 3D printing projects. The process is straightforward and can be implemented with the right equipment.
Steps to Turn Plastic Waste into 3D Printing Material
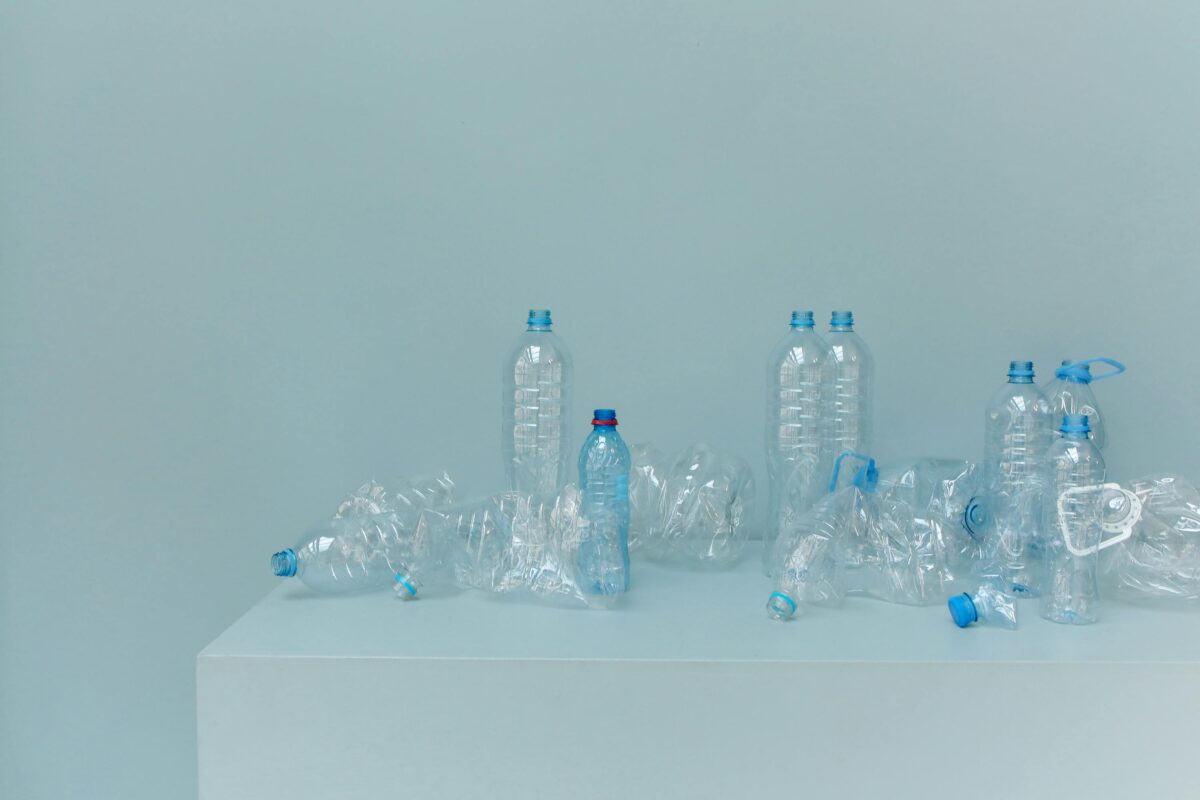
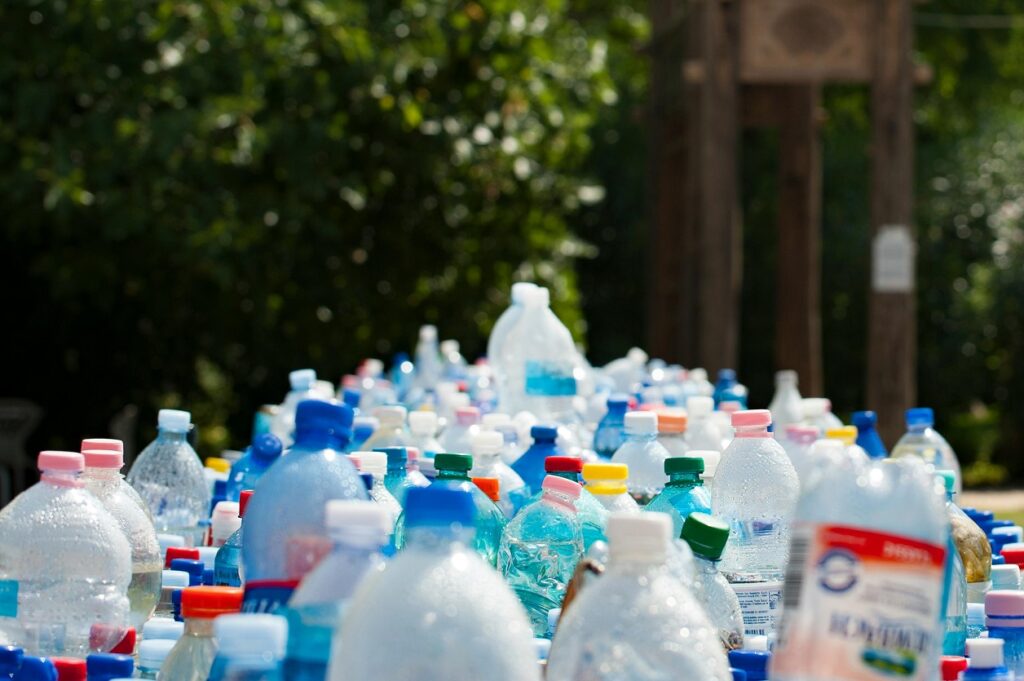
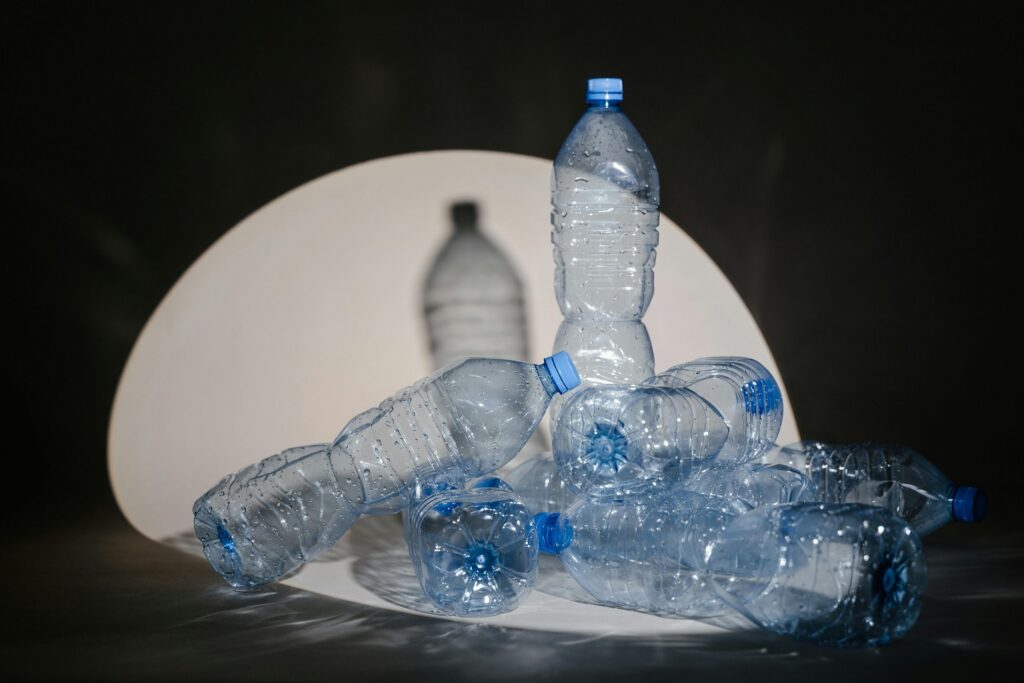
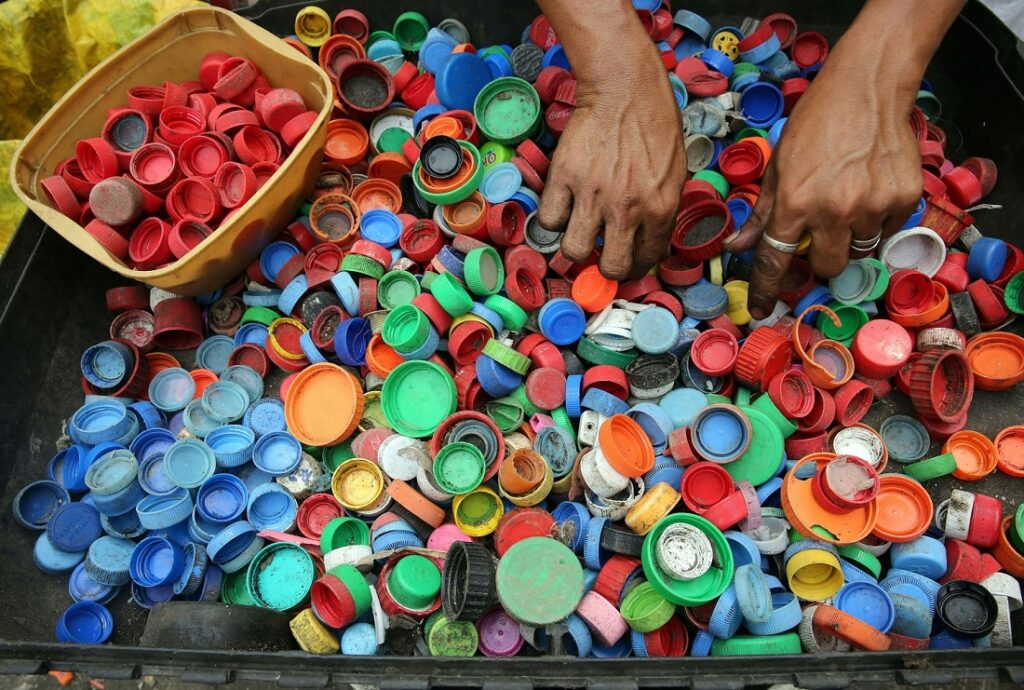
- Collect Plastic Waste: Gather plastic items, such as bottles, containers, and other discarded plastics.
- Sort and Clean the Waste: Separate different types of plastics to avoid material contamination, then clean them thoroughly to remove any residue.
- Grind or Shred the Plastic: Use a shredder to break the plastic into small bits suitable for extrusion.
- Extrude into Pellets or Flakes: Melt the shredded plastic and extrude it into small pellets or flakes, which can be used as feedstock for an FGF 3D printer.
- Print with Recycled Material: Load the pellets into a 3D printer’s hopper and print your object layer by layer.
This approach is sustainable, cost-effective, and allows users to produce unique items while contributing to the circular economy.
Applications of Plastic Waste 3D Printing
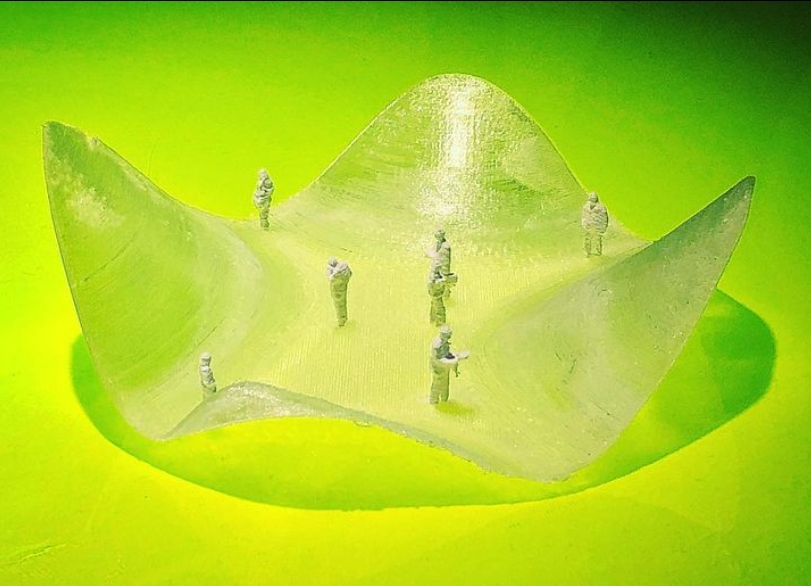
(Source: AIRLAB SINGAPORE)
From furniture to architectural designs, plastic waste 3D printing has diverse applications that highlight its potential for environmental and practical benefits.
Plastic Waste to Architecture Design
In architecture, recycled plastic 3D printing has been used to create both functional and decorative components. AIRLAB Singapore, an architectural research lab, recently used PET plastic bottles to print an immersive terrain design, along with a four-meter chandelier made entirely from recycled plastic. By building structural elements from recycled materials, architectural designers can create innovative spaces that are both visually appealing and environmentally responsible.
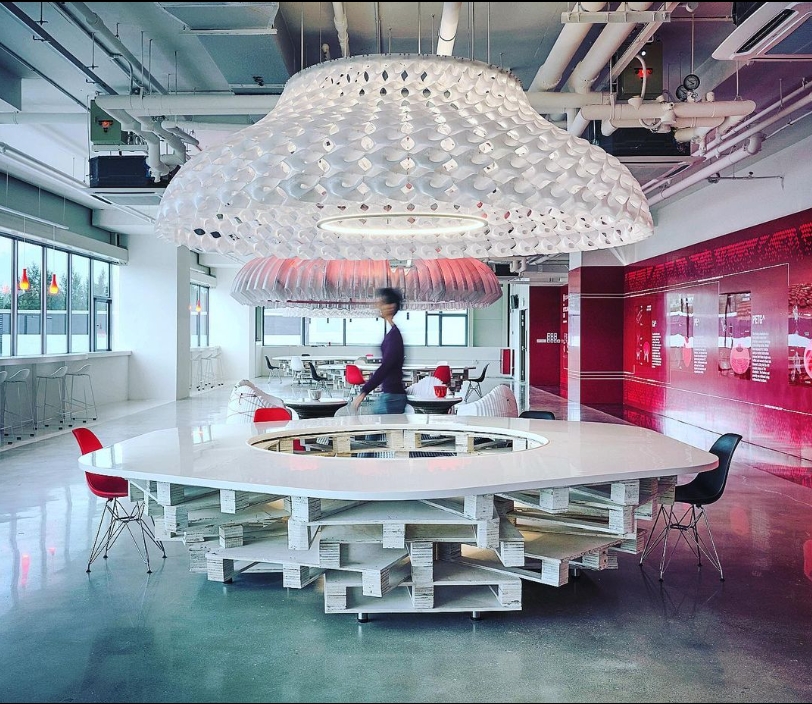
(Source: AIRLAB SINGAPORE)
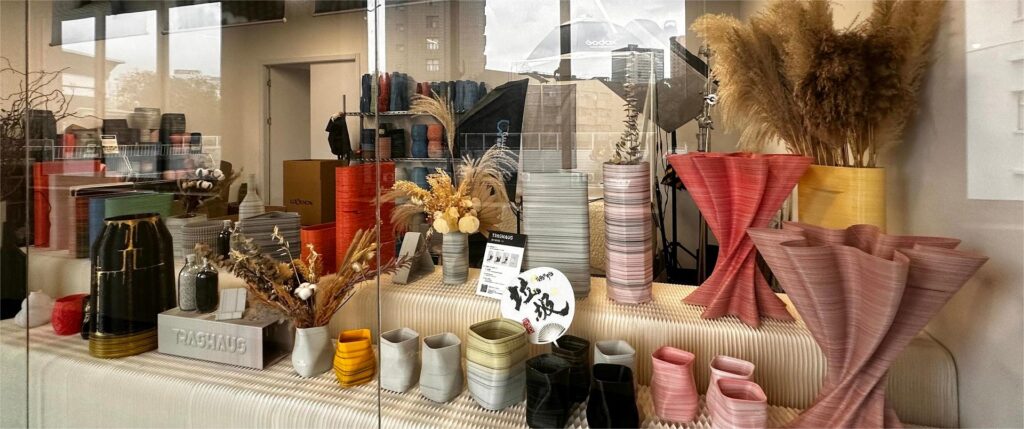
Plastic Waste to Furniture
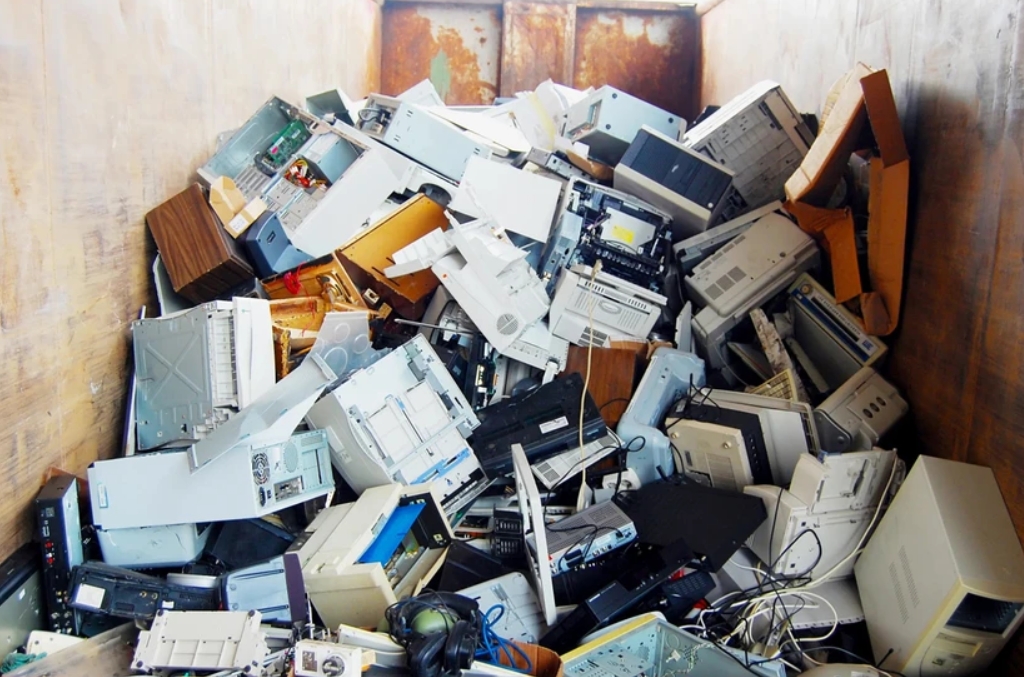
Furniture design is another field embracing recycled plastic 3D printing. For instance, TRASHAUS partnered with PioCreat 3D to repurpose over 1,000 kg of plastic waste from household appliances into custom furniture. The result was a series of large and small triangular vases with varying heights that were both practical and beautiful. Using recycled plastic for furniture items demonstrates the material’s durability, flexibility, and potential for reducing waste in design.

3D Printers That Use Recycled Plastic
For those interested in exploring sustainable 3D printing, choosing the right equipment is essential. Piocreat’s 3D printers are optimized for using pellets, flakes, or regrind materials, making them ideal for projects that prioritize eco-friendly printing.
Piocreat G5Ultra Pellet 3D Printer
The G5Ultra Pellet 3D Printer is a desktop, high-speed industrial production system that utilizes low-cost thermoplastic pellet feedstocks. With a build volume of 500×500×400mm, it’s well-suited for small to medium-sized objects, and its screw extruder design makes it compatible with various materials, including recycled plastic.
- Nozzle Temperature: Up to 400℃
- Hot Bed Heating: Heats up to 120℃ for consistent layer adhesion
- Versatile Feedstock Compatibility: Works with recycled pellets, flakes, and other regrind materials.
Piocreat G12 Pellet 3D Printer
For larger projects, the G12 Pellet 3D Printer is a powerful option. With a build volume of 1200×1000×1000mm, it can produce medium-to-large format parts, making it ideal for architecture or furniture projects. Its high-flow screw extrusion design supports high-speed production with recycled plastics.
- Nozzle Temperature: Up to 450℃
- Powerful Servo Motor: Ensures precision and speed for large-scale prints
- Hot Bed Heating: Heats up to 120℃ for optimal adhesion
Both of these printers provide versatility and performance, allowing users to print eco-friendly projects at scale
Plastic waste 3D printing is a practical, innovative approach to reducing environmental impact while creating functional, beautiful items. By selecting the right 3D printer and experimenting with recycled plastic, you can start contributing to a circular economy that emphasizes reuse and sustainability.
Whether you’re creating furniture, architectural designs, or everyday items, 3D printing with recycled plastic transforms waste into a valuable resource, helping to pave the way for a greener future.