Oxford University and Run3D Discuss 3D Printing Insoles with PioCreat
piocreat3d
on
October 15, 2025

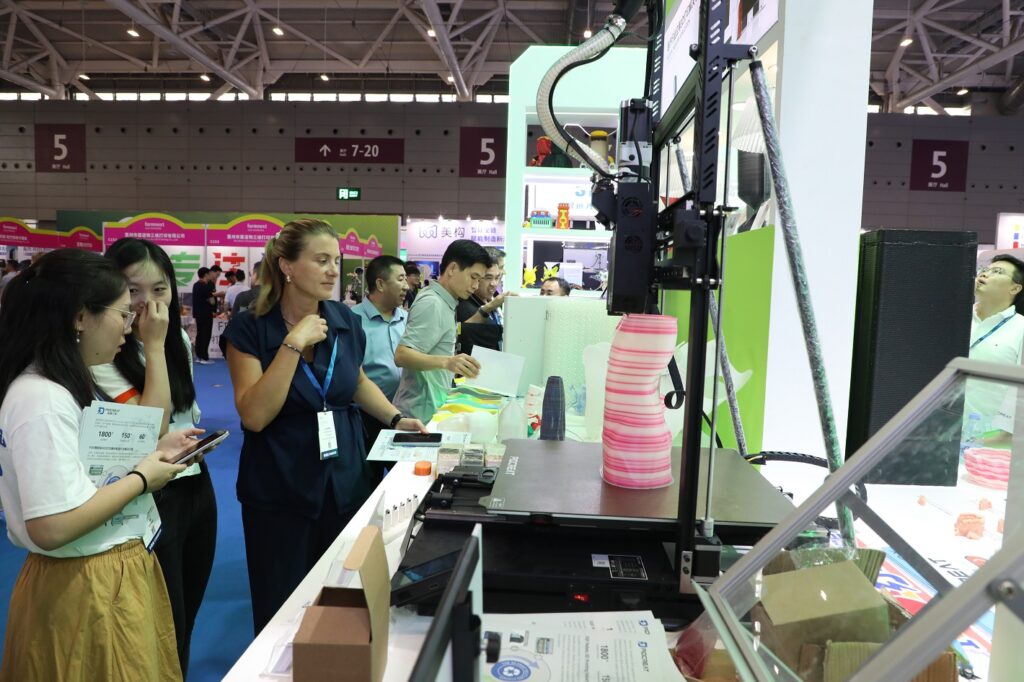
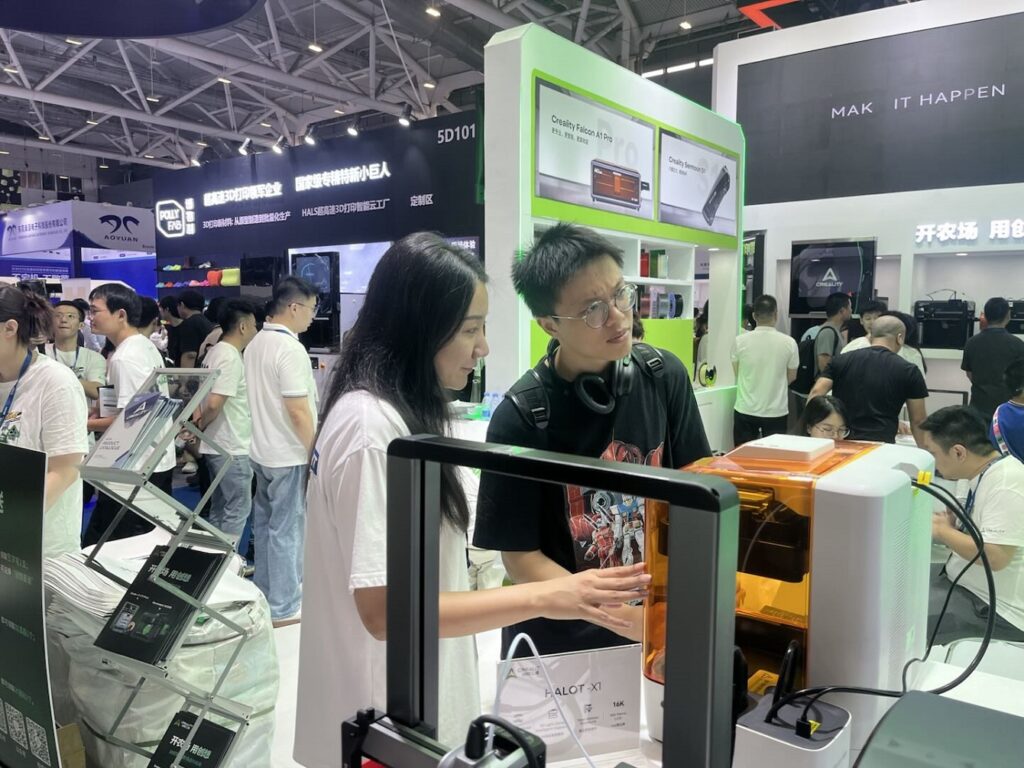
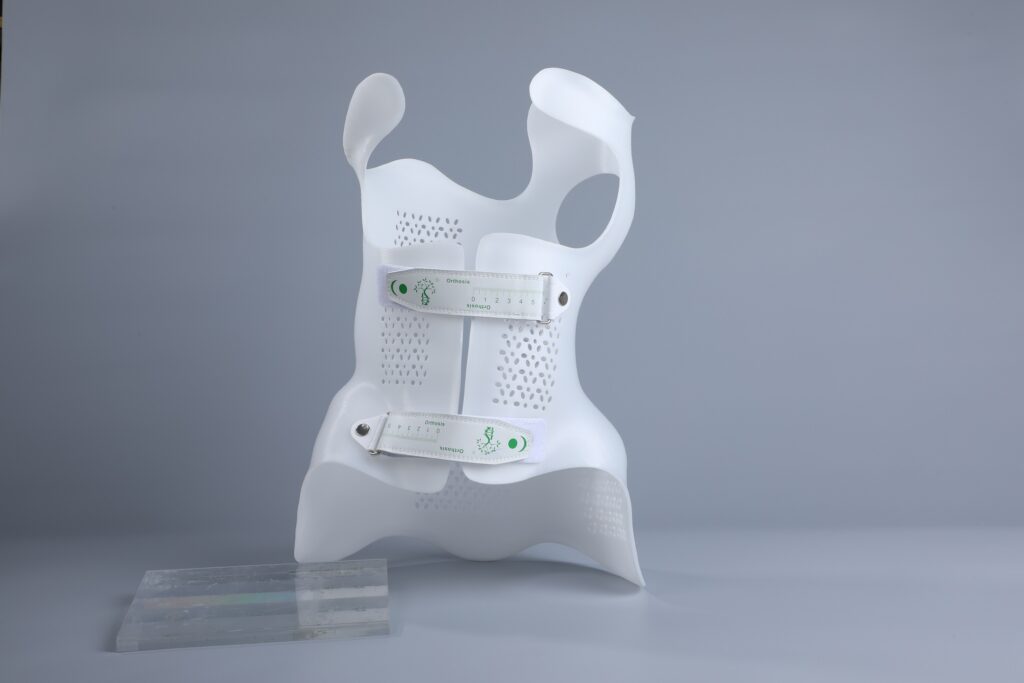
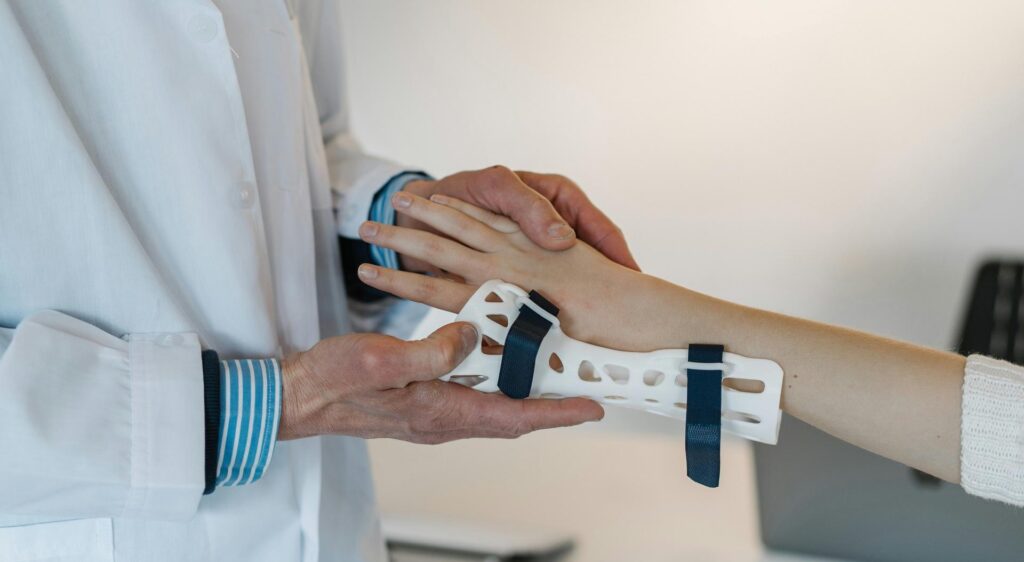
Recently, Oxford University hosted an inspiring lecture titled “Exploring the Role of 3D Printing, Super Shoes & the Future of Tech in Patient Care”, bringing together experts and innovators from the fields of medical technology, biomechanics, and digital manufacturing. Among the participants was Run3DUK, a leading UK-based medical solutions provider specializing in custom orthotic and rehabilitation products, along with PioCreat, showcasing its advanced 3D printing technology.
Discussions centered on the convergence of 3D printing, biomechanics, and motion science, with participants exploring how data-driven design and additive manufacturing can enhance the precision, comfort, and accessibility of orthotic and rehabilitative solutions.
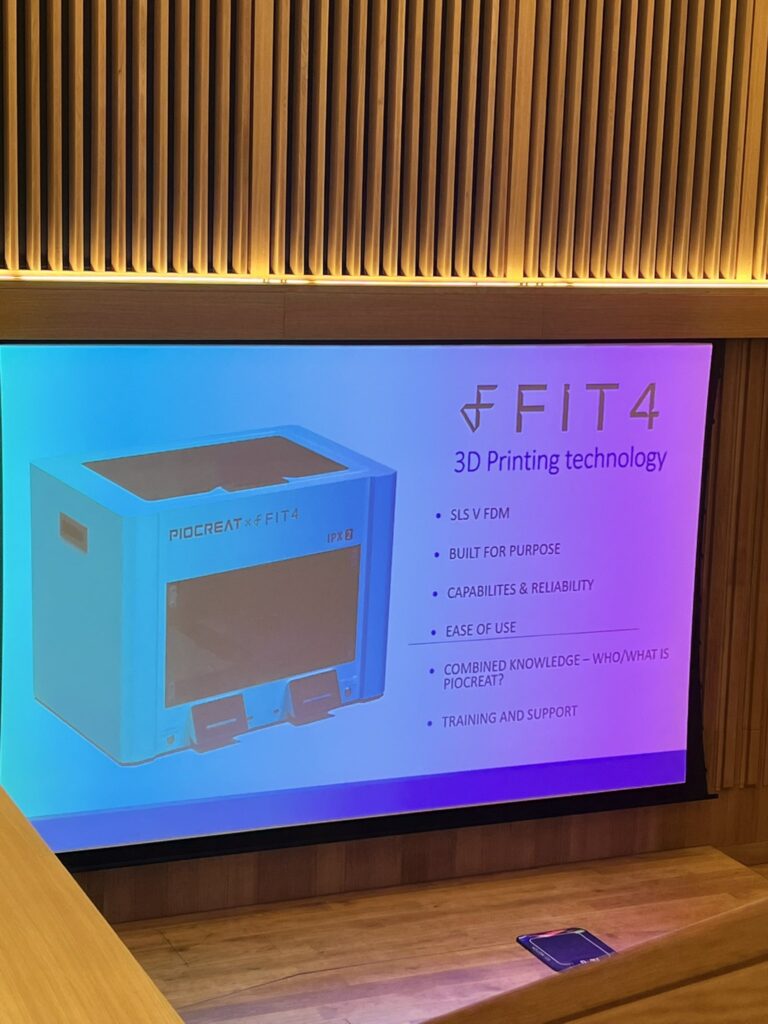

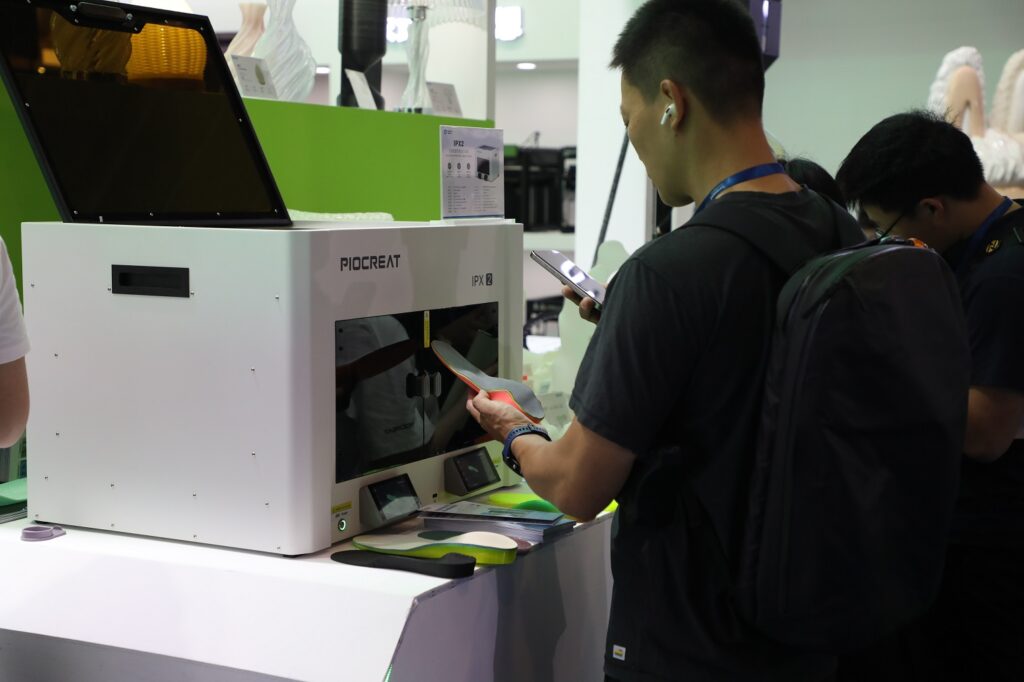
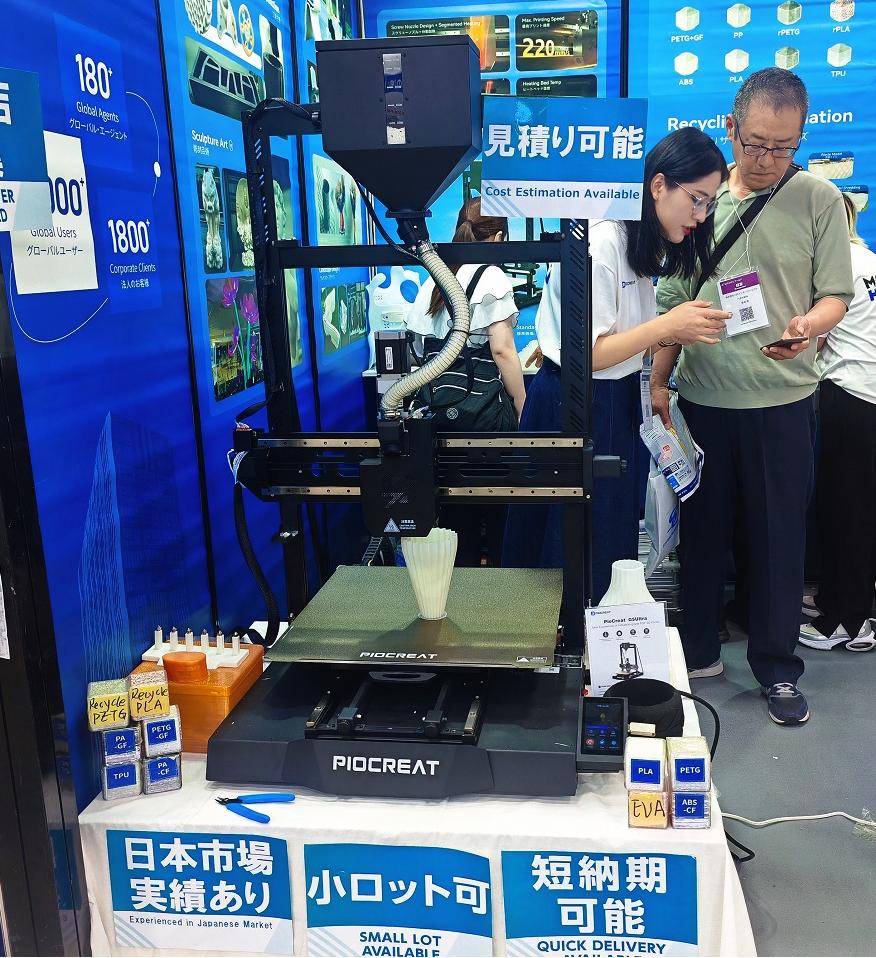
PioCreat IPX2: Driving Precision in Medical-Grade Footwear Production
At the event, the 3D printer-IPX2 was showcased as a versatile solution designed for professional and medical-grade production.
Its innovative Double Station Printing System allows users to print two completely different insoles simultaneously.
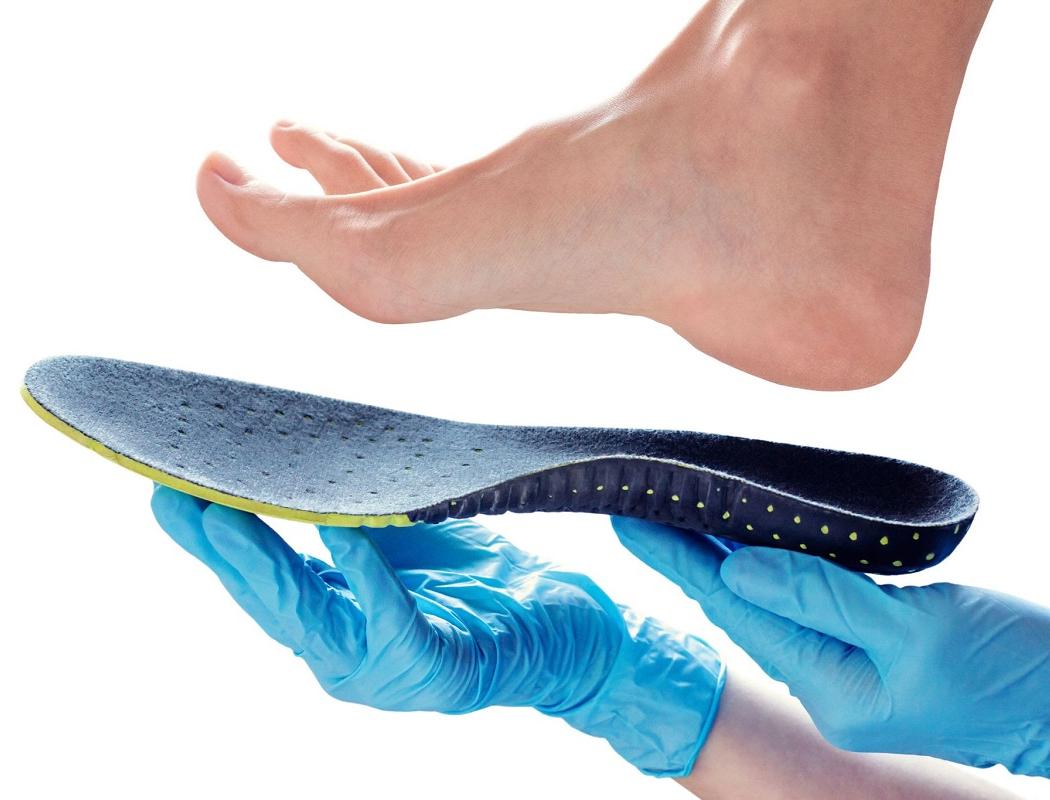
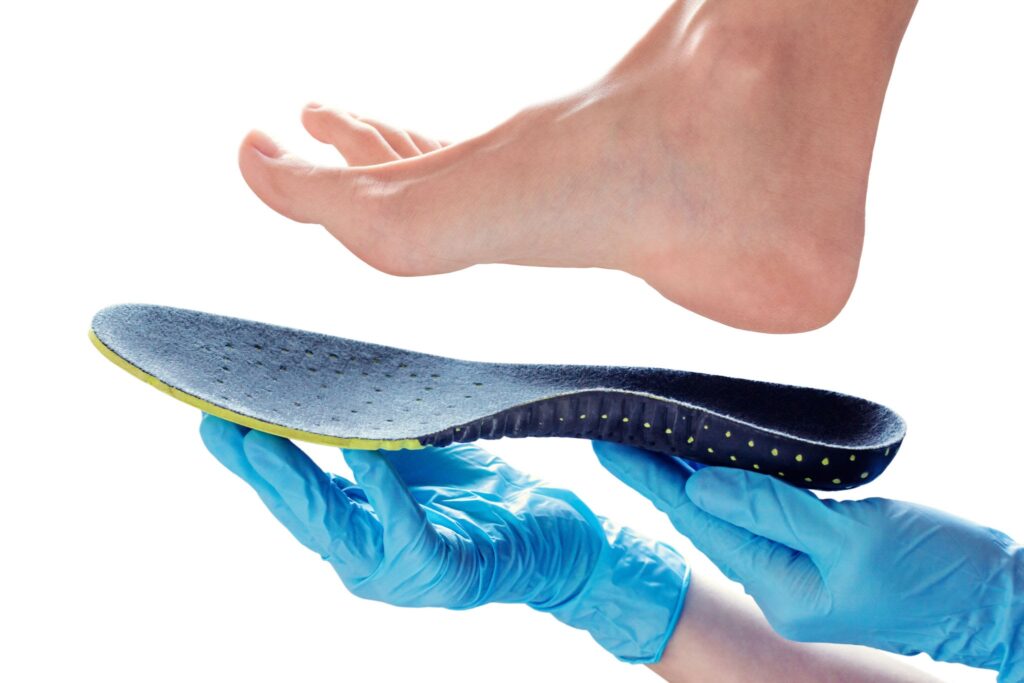
Equipped with a dedicated extruder for soft TPU materials and capable of reaching speeds of up to 180 mm/s, the IPX2 ensures smooth and consistent extrusion, making it ideal for producing custom insoles and flexible orthotic components—significantly enhancing efficiency and productivity without compromising precision.
Its fully enclosed chassis offers a controlled and safe printing environment—particularly valuable in clinical and laboratory settings where stability, cleanliness, and reliability are paramount. All of these design choices align with the evolving needs of the healthcare sector, where precise manufacturing directly impacts patient comfort and therapeutic outcomes.
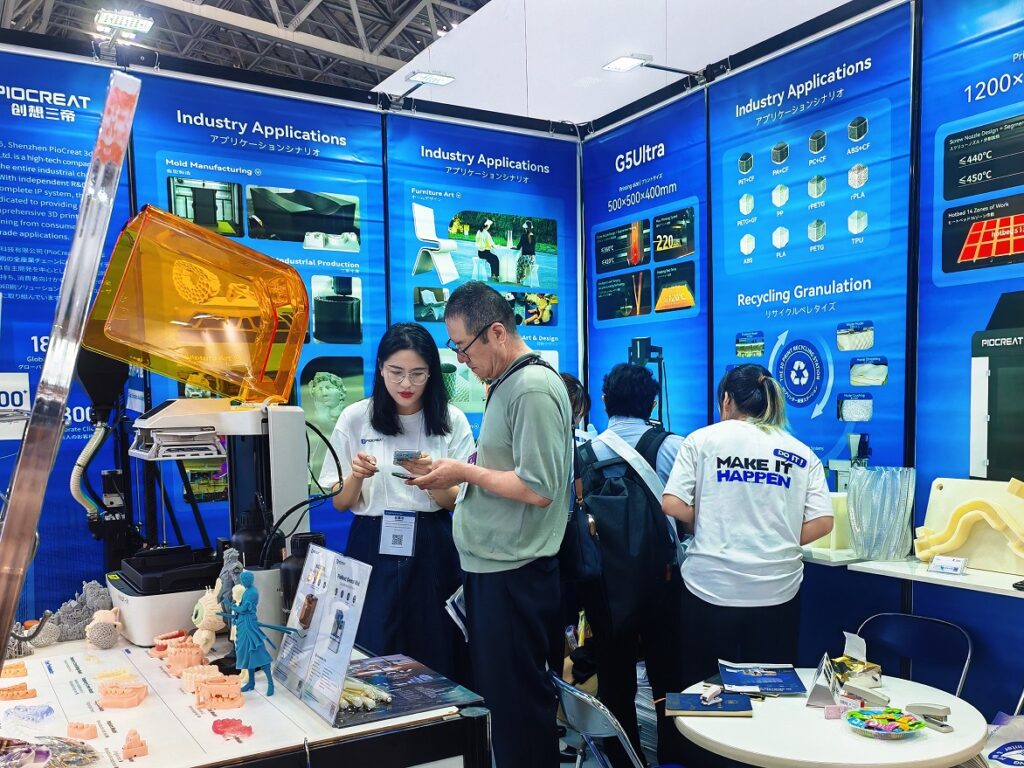
As one of PioCreat’s flagship products, the IPX2 continues to support institutions, labs, and clinics worldwide in exploring the full potential of additive manufacturing for personalized medical applications.
Shaping the Future of Digital Healthcare
The collaboration between Oxford University, Run3DUK, and PioCreat highlights how research institutions and technology providers can jointly advance the future of patient care. As digital tools like 3D printing become integral to rehabilitation and preventive medicine, partnerships like this will continue to drive innovation—bridging the gap between research, design, and real-world application.
PioCreat remains committed to supporting the medical and healthcare sectors with reliable, high-performance 3D printing solutions that transform ideas into personalized, patient-centered outcomes. To learn more about PioCreat’s Insole 3D printing solutions, please contact us at our email: info@piocreat3d.com.